
This is the only way in. A supervisor is a kubeconfig registered here and kept in Celum’s database; Celum reads no kubeconfig files. Every supervisor therefore went through the check below.
What this changes on your cluster
Nothing, yet. Registration stores a credential on Celum’s side and makes one read-only call to your API server to confirm it works. No CRD is applied, no namespace is created, nothing is installed. That is worth stating precisely, because it stops being true on the very next page. Platform onboarding does change the cluster. Registration is undone by deleting a row.Before you start
- A kubeconfig file for the cluster, with a context that works. You will drop the file in; Celum reads it, it is never pasted into a text box.
- Reachability from the Celum backend to the cluster’s API server. Celum calls out; the cluster never calls in. A kubeconfig that works from your laptop but not from the Celum host will be rejected — correctly.
DATABASE_URLconfigured on the backend. Uploaded supervisors live in PostgreSQL, so without it every call on this page returns503 Database not configured.- Permissions. The drop zone needs
kubeconfig:Checkand the Upload button needskubeconfig:Upload— deliberately separate, so an identity that may upload but not probe gets told so instead of meeting a dead drop zone. Seeing the result needskubeconfig:Listfor the settings table andsupervisor:Listfor the picker. All of them are listed in Permissions. - A domain in the catalog, if this cluster will ever serve TLS. Add it under Settings → Domains first; this page can only pick from what is already there.
The shape of it
Drop → it checks itself → name it → it appears. Four moves, and only the third asks you anything.Step 1 — Drop the file in
- Dashboard
- API
- MCP
Settings → Kubeconfigs → Upload Kubeconfig. Drag the file onto the drop zone, or click to browse.Dropping the file is the action — there is no separate Test button. The check fires immediately, which is why the drop zone is gated on
kubeconfig:Check rather than on the upload permission.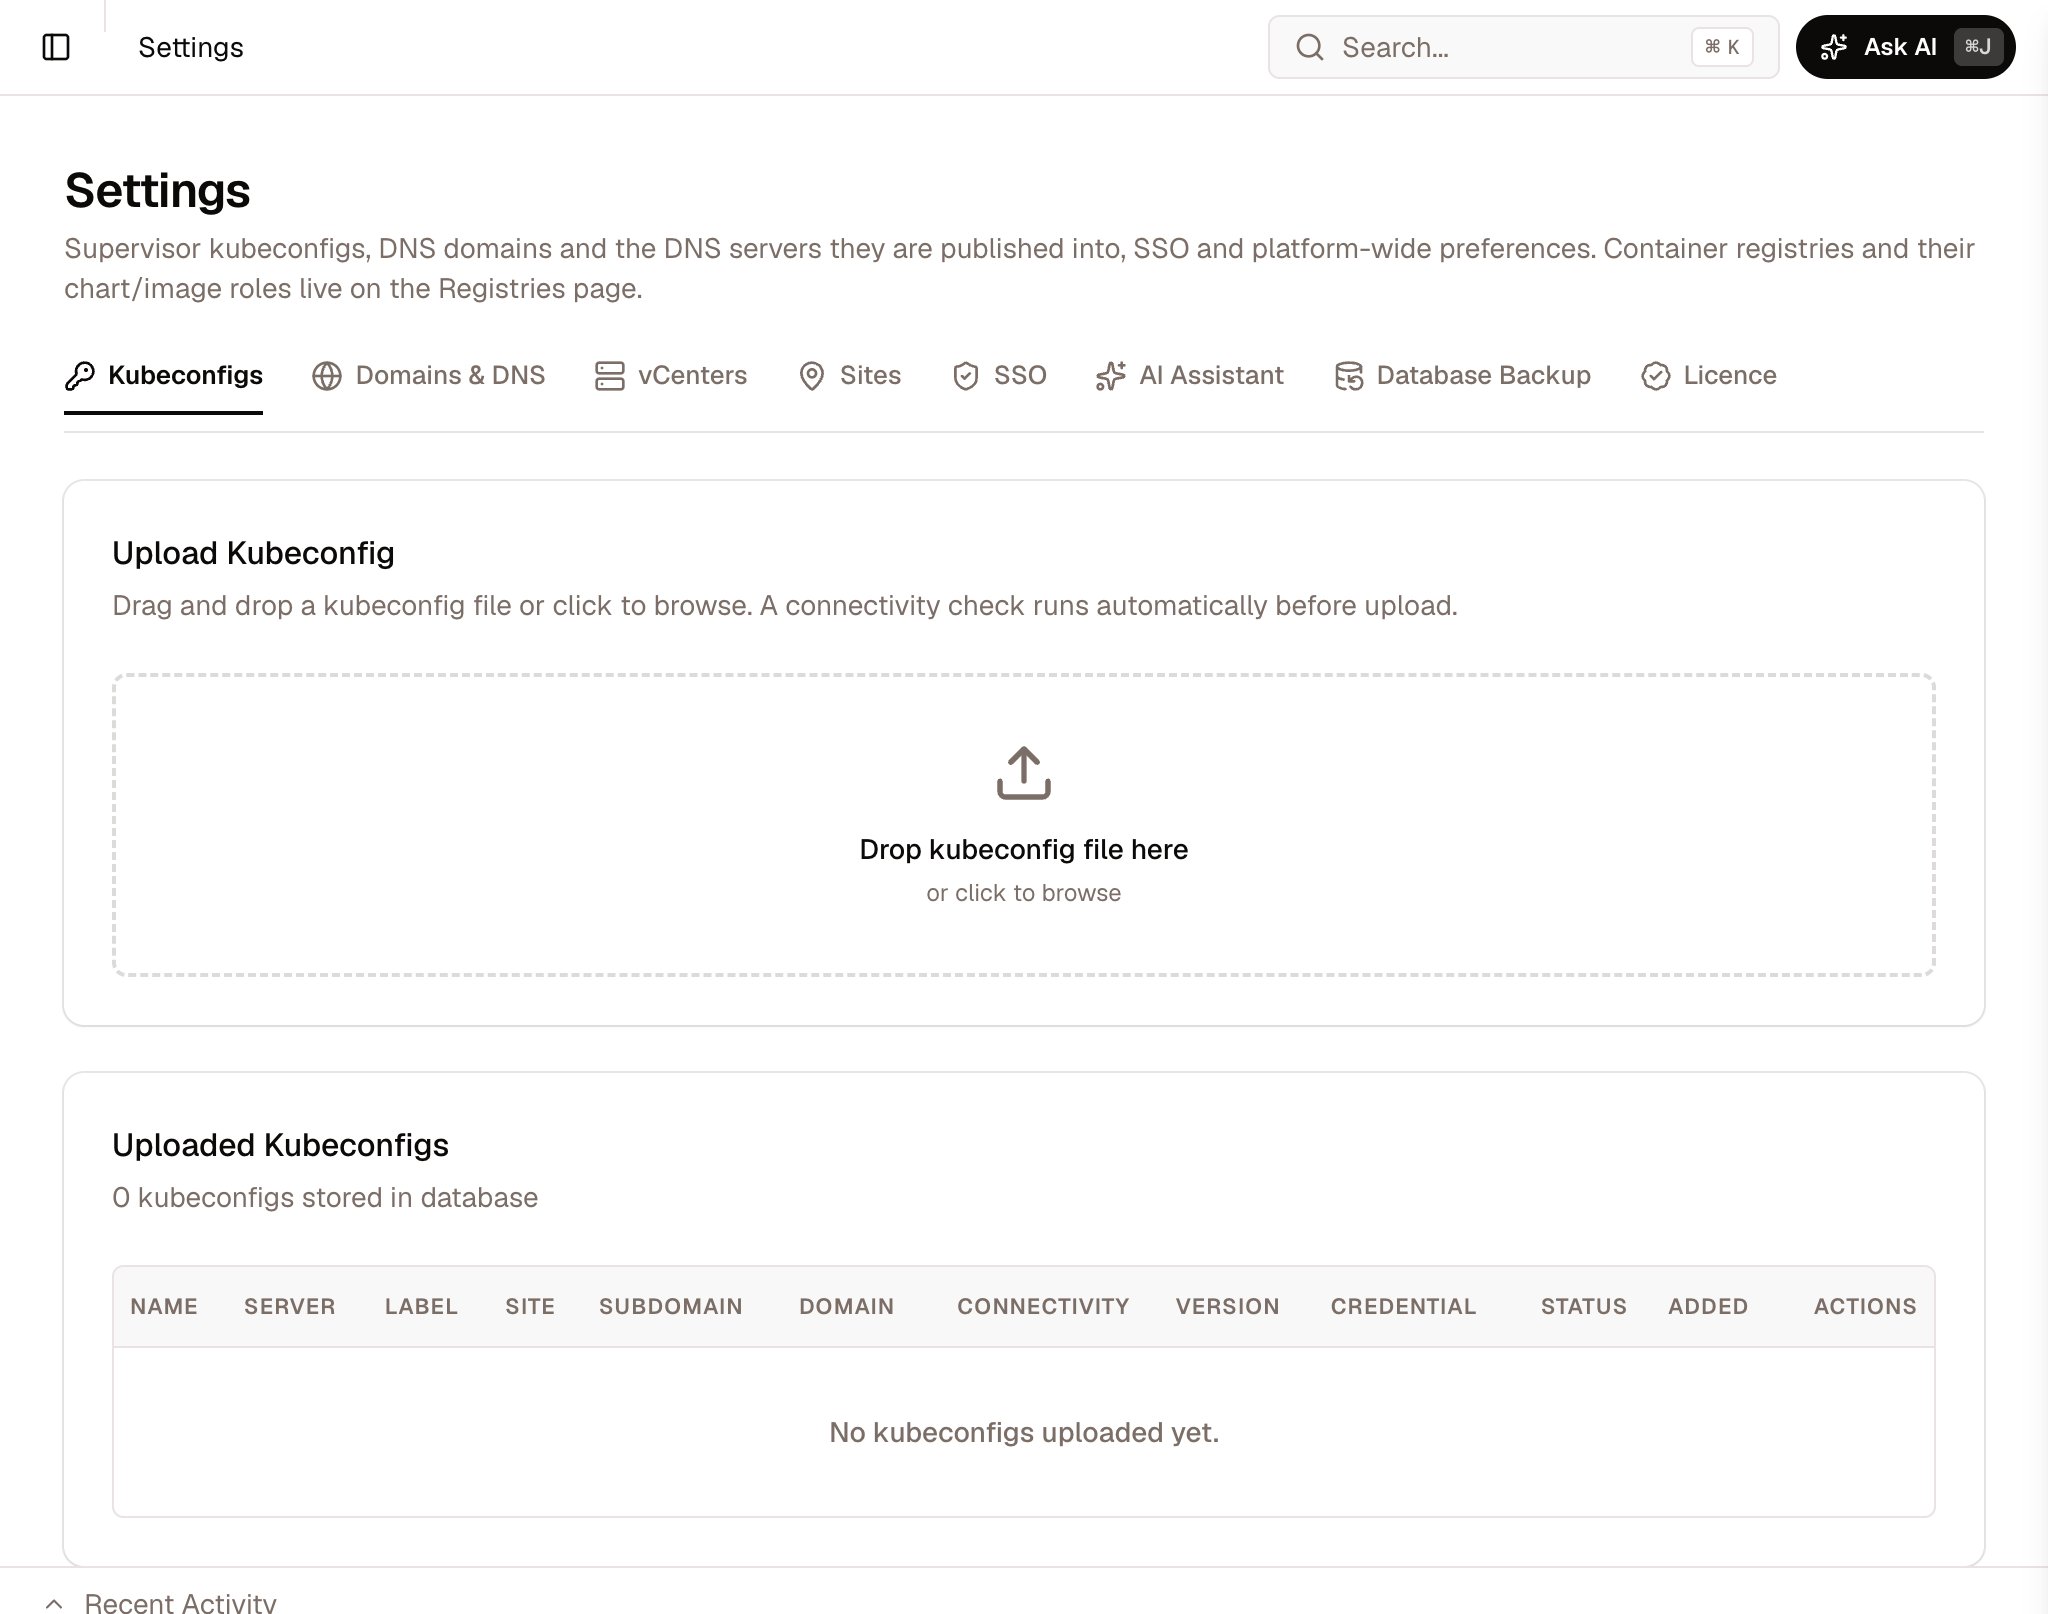
Settings → Kubeconfigs before the first upload
Connected v1.31.4 with the API server address underneath, or the error the cluster gave. On failure the only button offered is Try another file — no form appears.
Step 2 — Why there is nothing to remember here
You cannot register a cluster Celum cannot reach. The naming fields do not render until the check succeeds, and the Upload button does not exist until then either.POST /api/kubeconfigs enforces the same rule on its own: it parses the YAML, builds a client, calls version discovery with a ten-second timeout, and returns 400 if that fails — before anything is written.
That is deliberate, and it changes what you do when it fails. A red badge is never a reason to try a different YAML formatting. It means one of three things:
The failure mode this design removes is the expensive one: a supervisor that lists cleanly and fails every operation, with the failure surfacing three pages later inside whatever you were actually trying to do.
Step 3 — Name it, and set the four things that decide what it can do
The form appears once the check is green. Supervisor name is pre-filled from the filename with the extension stripped, and the field accepts only lowercase letters, digits and hyphens — it rewrites what you type. This is the one field worth pausing on, because it is the only one you cannot change later: the name is embedded in every URL (/s/<name>/...), every API path, and every KRN (krn:celum:supervisor:<name>). Renaming means rewriting the IAM policies that mention it. Use the name your team already uses for the cluster.
Label is one of three values — VMware, CloudStack, Talos — and it decides whether platform onboarding is offered.
Site groups the supervisor in the catalog and decides which registries and image buckets it inherits. Leave it at — none — if you run one site.
Domain and Subdomain together give the cluster the DNS name its services will answer on. Domain is a pick from the catalog managed under Settings → Domains; subdomain is free text (prod), and Celum joins them — prod.example.com, or just example.com when the subdomain is blank. A supervisor with no domain issues no certificates, and the symptom is silence: certificates sit Pending with nothing on screen explaining why.
Result: press Upload. The supervisor appears in the picker, by name, without a restart — the client cache is reloaded and warmed on the way out.
- API
- MCP
POST /api/kubeconfigs with name and kubeconfigYaml required, and label, site, subdomain, domainId optional. The response echoes the stored row with the YAML stripped out.Verify
Open the supervisor picker and select the cluster. The Summary tab loads node, CPU, memory and storage rollups read live from the API server — and that read is the proof, because none of it could have come from the row you just stored.- API
- MCP
GET /api/supervisors lists it.Changing your mind later
Everything except the name is editable in place, inline in the Settings → Kubeconfigs table — label, site, subdomain and domain each save throughPUT /api/kubeconfigs/{id} (kubeconfig:Toggle). So a supervisor labelled wrong at upload is a two-click fix, not a re-registration.
The same call disables one: it stops appearing without the credential being lost. DELETE /api/kubeconfigs/{id} (kubeconfig:Delete) removes the row for good. It also drops the supervisor’s DNS provider binding and its vCenter bindings, so neither stays in use by a supervisor that no longer exists.
The cluster itself stays untouched either way, because this page installed nothing on it.
Neither editing nor deleting has an MCP tool — the assistant surface is read plus create only. Do these two in the dashboard or over the API.
What commonly goes wrong
Next
Platform onboarding turns this supervisor into somewhere workloads can actually live — CNI, storage, certificates, monitoring — and it starts exactly where this page ended: a registered, reachable,talos-labelled supervisor with a domain.
Supervisors & clusters
What a supervisor is, and how KRNs nest a cluster inside one.
Authentication & IAM
Granting someone the permissions this page needs.
Projects
Giving a team a slice of the supervisor you just registered.
Create a cluster
The first thing most people do with a supervisor once it is onboarded.